
 EN

How Does Bellows Bracket Support Bellows Installation?
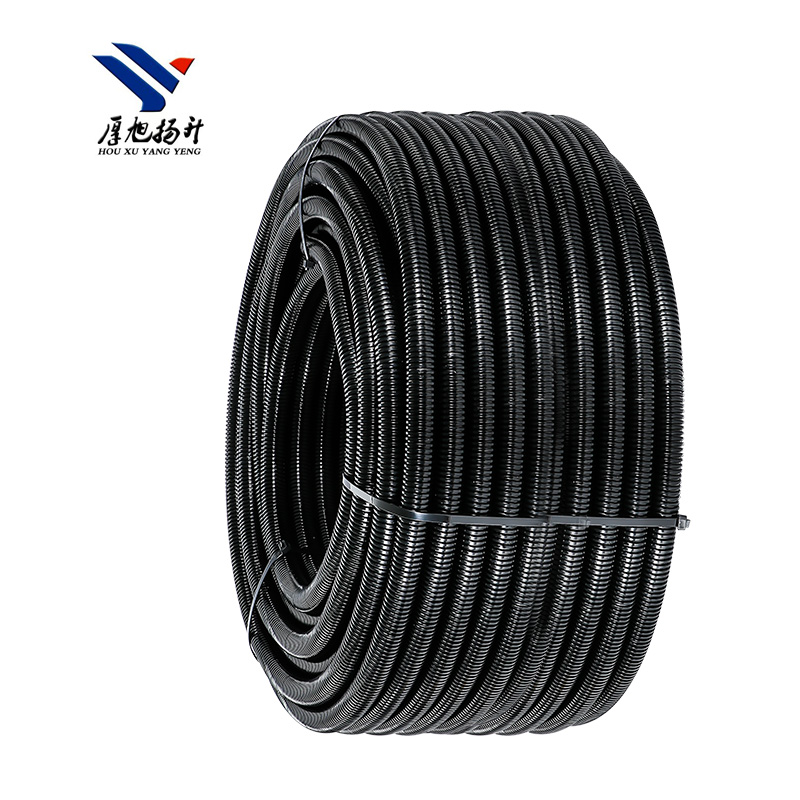
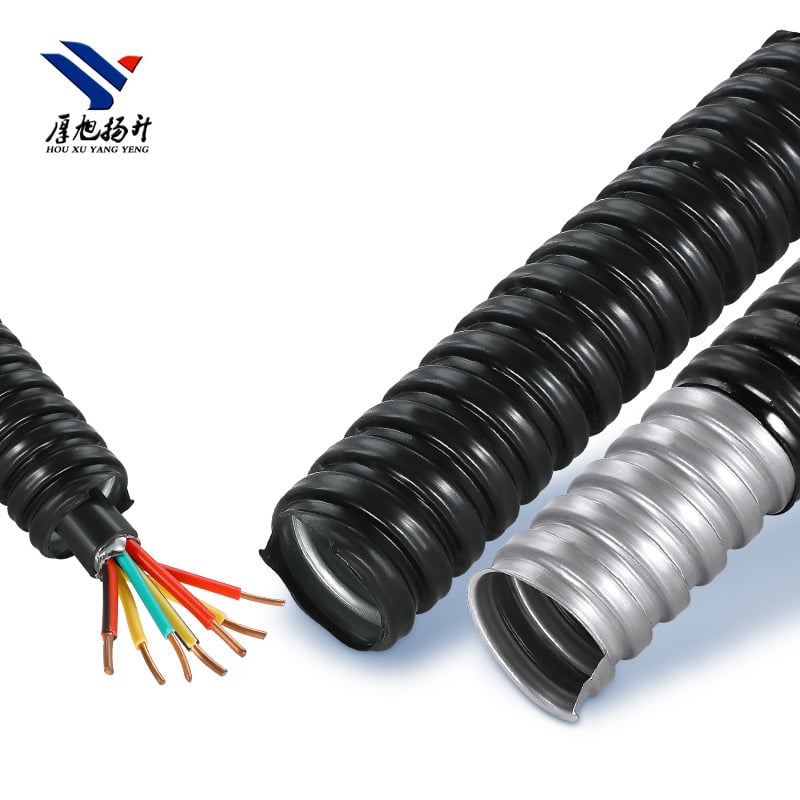
A bellows bracket is a support point that holds a corrugated bellows or flexible conduit in a deliberate position while leaving the run able to follow its intended bend. For a panel builder, the value is less about adding another fastener and more about controlling where weight, vibration, and pulling force go. A flexible run that looks acceptable when it is empty can sag after cables are added, rotate at the termination, or rub against a sharp enclosure edge. The right bellows bracket reduces those risks by giving the installation a stable reference point.
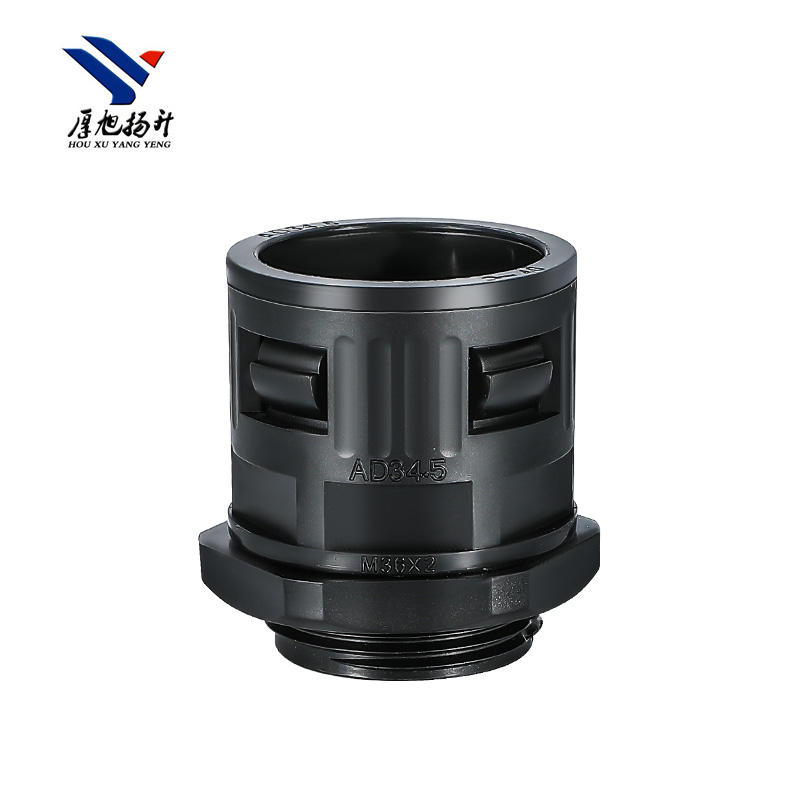
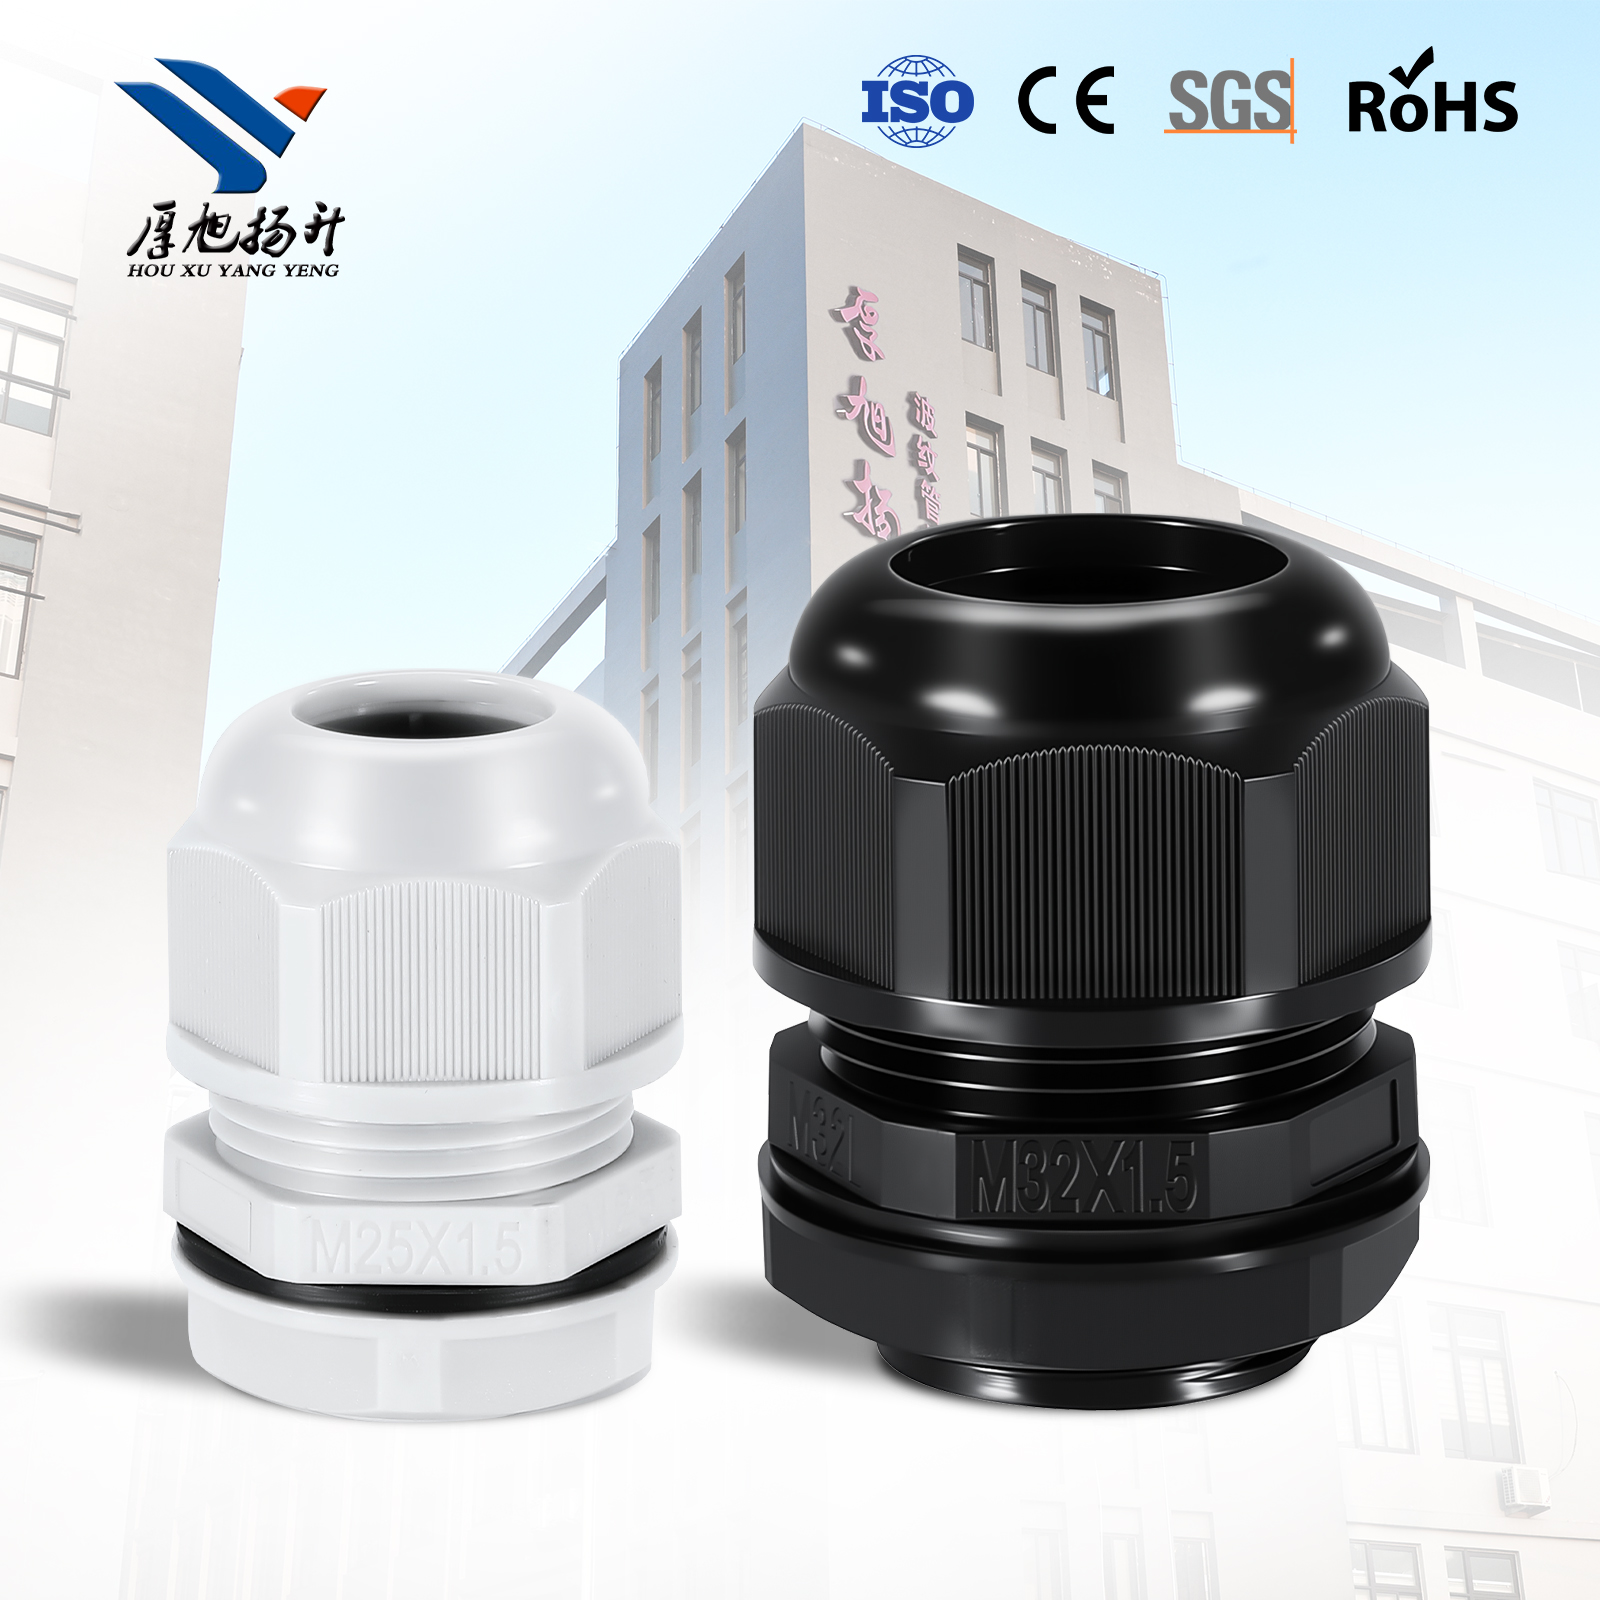
This distinction matters: a bracket supports the bellows body; a connector or fitting secures the end at an enclosure, machine, or junction box. One should not be expected to replace the other. Good installation keeps the connector from carrying the whole weight of the run and keeps the bracket from crushing or flattening the bellows.
What a Bellows Bracket Actually Does
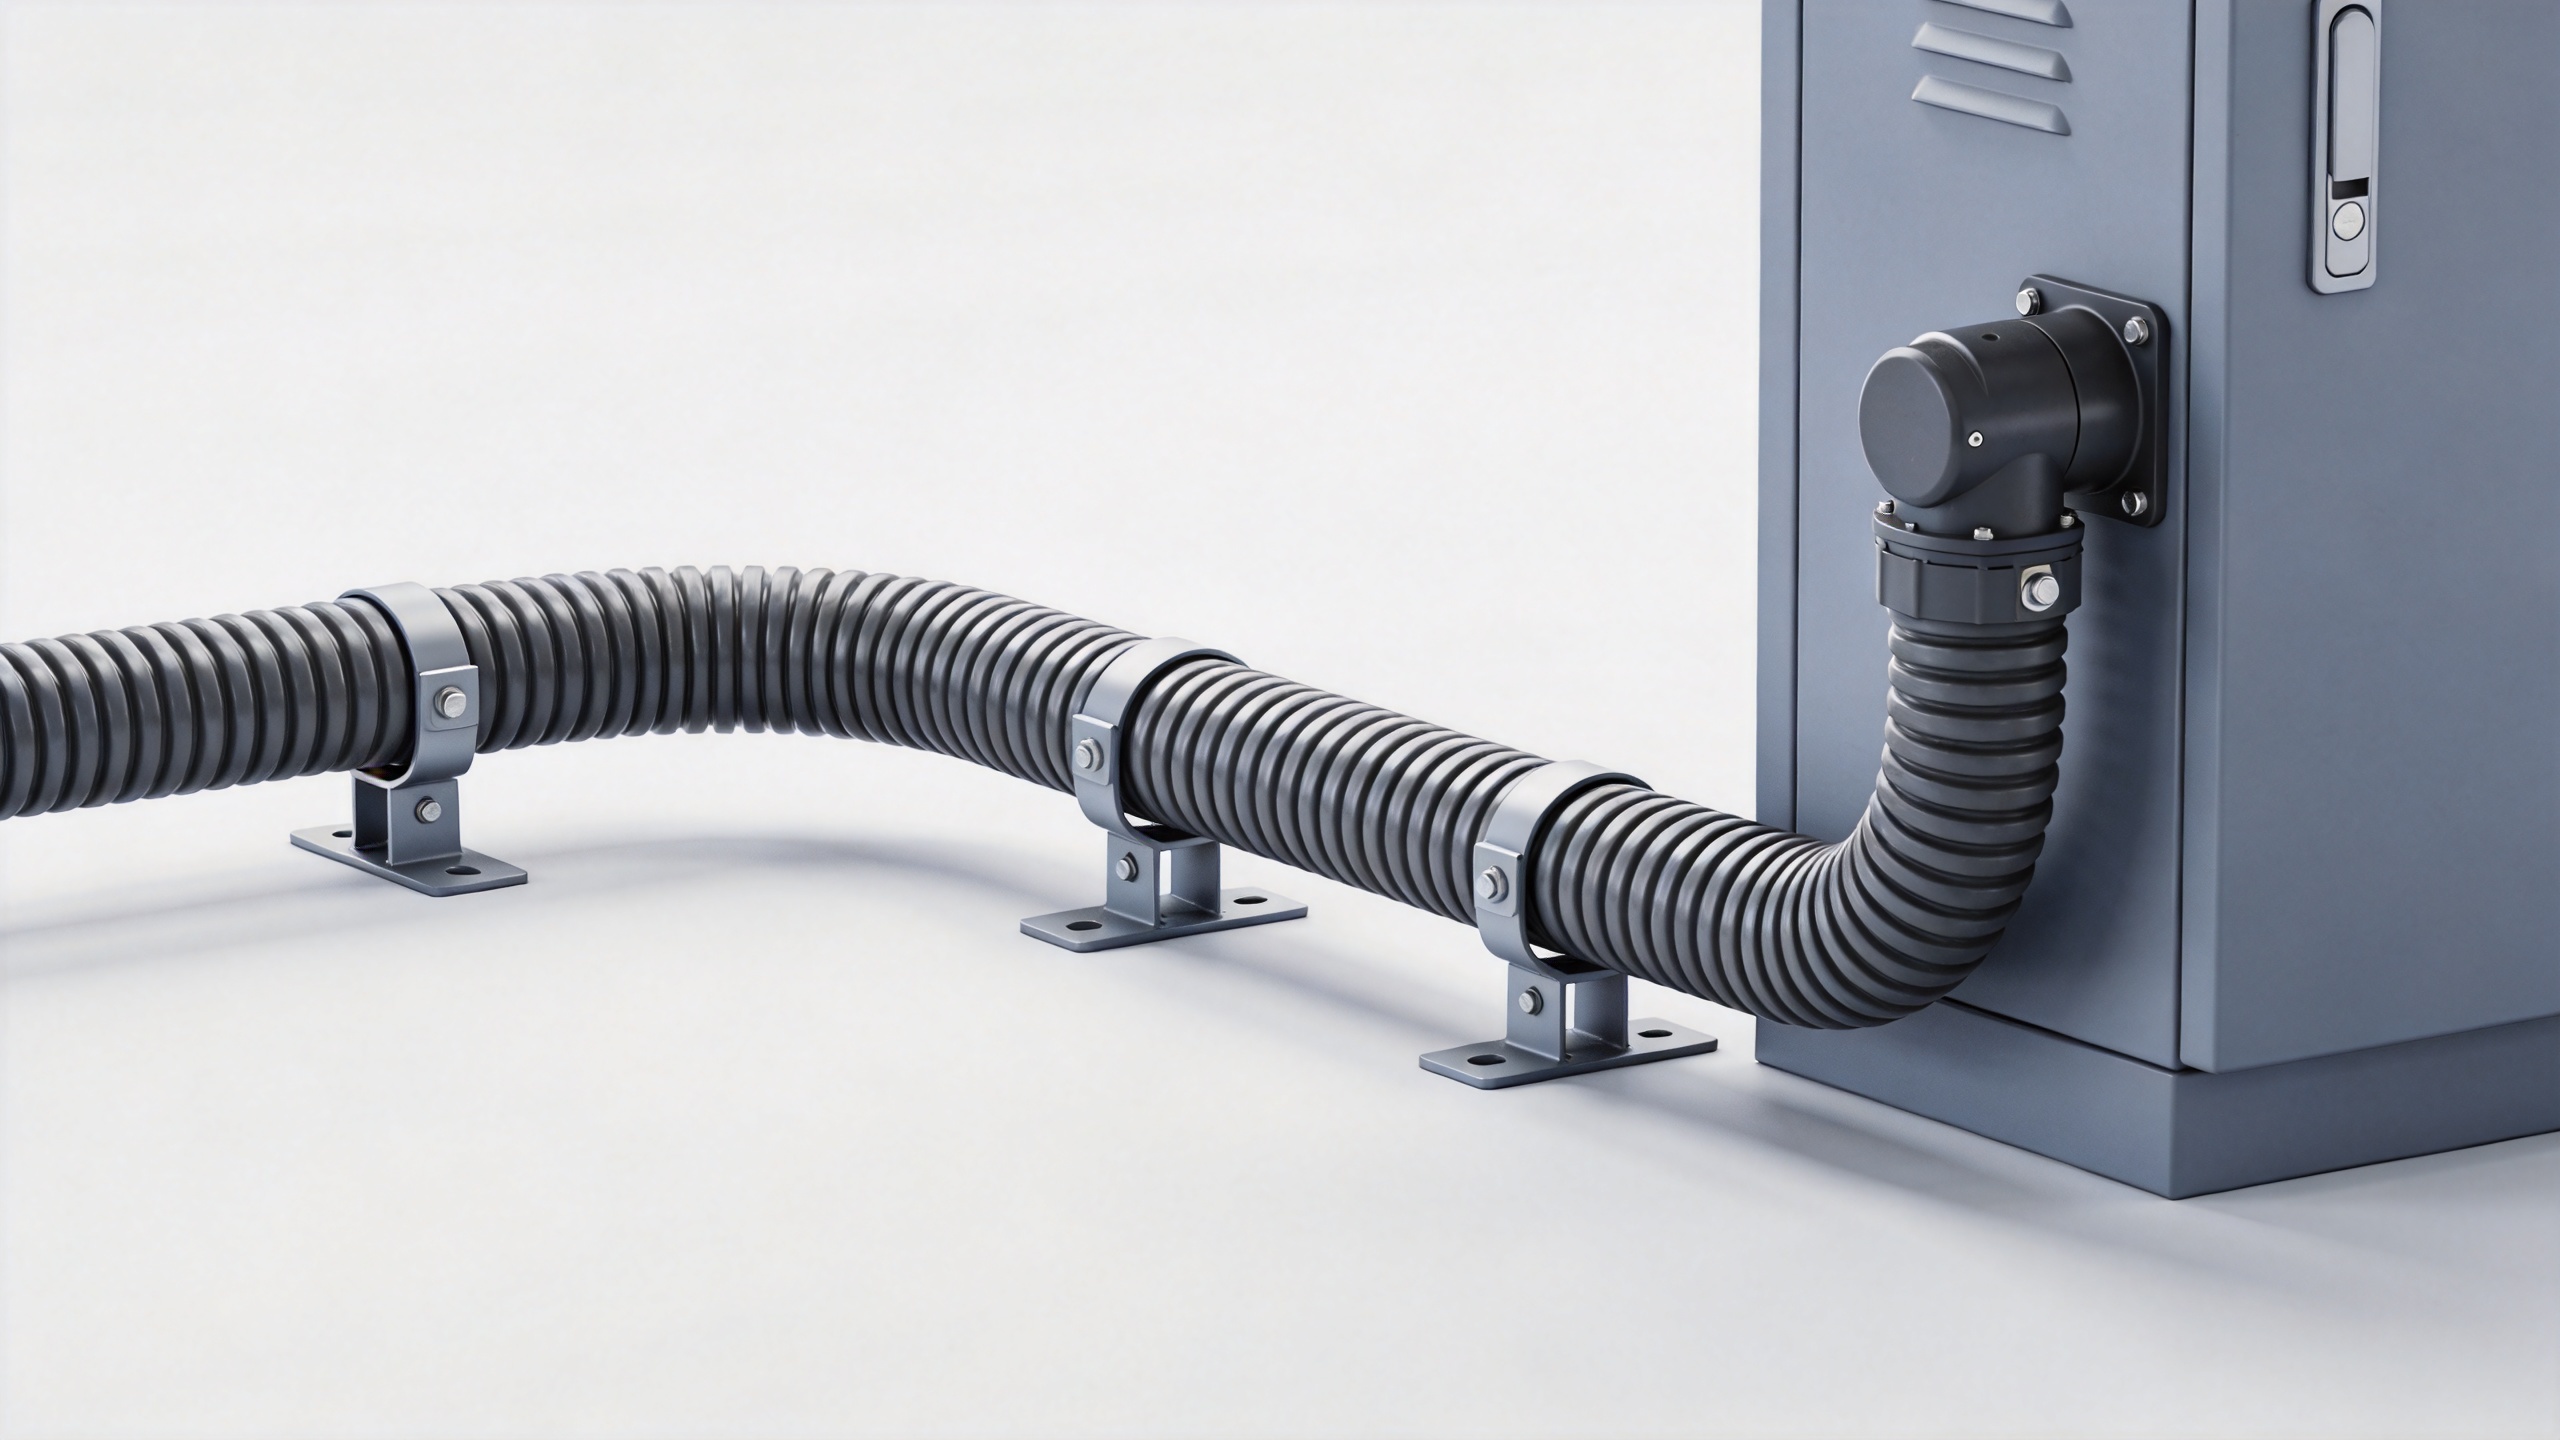
At its simplest, a bellows bracket fixes the route of a flexible protective tube. It can hold the tube against a cabinet wall, machine frame, cable tray support, or other suitable mounting surface. That restraint has several practical effects:
- It limits sag so the bellows does not form a low point that invites rubbing, snagging, or accumulated debris.
- It keeps the bend where the installer planned it, rather than allowing the tube to twist toward a moving edge or hot surface.
- It transfers part of the bellows weight to the structure instead of leaving it at the connector.
- It improves cable-pulling control by keeping the route open and reducing abrupt shape changes.
- It makes later inspection easier because the intended routing remains visible and repeatable.
In other words, a bellows bracket turns a flexible run into a managed run. Flexibility is still available where it is needed, but it is not allowed to become uncontrolled movement.
Why Support Placement Matters During Bellows Installation
The first support is often most valuable near a termination. Without nearby support, the unsupported section can act like a lever on the connector as cables are pulled, the machine vibrates, or the door is opened. A bellows bracket placed on the straight section near—but not clamped onto—the fitting helps separate those loads.
Support spacing should not be copied blindly. Material, diameter, fill level, orientation, ambient conditions, vibration, local electrical rules, and the bellows manufacturer’s instructions all affect the layout. As a useful example rather than a universal installation rule, NEMA RV 3-2021 guidance cited for flexible aluminum conduit calls for support at intervals not exceeding 1.4 m (4½ ft) and within 300 mm (12 in) of terminations. A corrugated polymer bellows, a vertical run, or an application with moving equipment may need a different arrangement. The governing code and the product instructions remain the decision point.
A practical field check is to look at the route after cable loading. If the tube is pulling sideways on a fitting, flattening at a bend, or dropping below its planned path, the support layout needs review. Adding a bellows bracket at the wrong point can also cause trouble: a clamp that is too tight may pinch the corrugations, while a support set directly at the bend can force a sharper radius than the tube was designed to handle.
How to Position a Bellows Bracket Step by Step
- Map the route first. Mark the enclosure entry, equipment entry, bends, access panels, and potential abrasion points before drilling. Confirm that the planned bellows path respects the required bend radius.
- Identify the load-bearing straight sections. A bellows bracket is generally most effective where it can support a straight or gently curved portion without deforming the tube. Keep a reasonable distance from the connector so the fitting can be installed and serviced.
- Choose a compatible bracket size and material. The bracket should hold the nominal bellows diameter without crushing it. Consider corrosion exposure, temperature, cleaning chemicals, and the mounting surface—not only the tube diameter.
- Install the termination independently. Fit and tighten the connector according to its instructions. The bellows bracket is not a substitute for a proper termination or strain-relief component.
- Secure the tube without over-compression. Close the bracket so the bellows is retained but not visibly flattened. If a support is adjustable, use the lightest secure setting that prevents unwanted movement.
- Recheck after cable insertion. Cable fill changes the behavior of the run. Confirm that each bellows bracket supports the tube, the bend remains smooth, and no force is being transferred to a connector or cable entry.
Bracket Placement Around Bends, Doors, and Moving Equipment
A bellows bracket should guide a bend, not lock it into a kink. Leave enough unsupported length for the bend to develop smoothly, then support the straight section before and after the curve as the installation calls for. On a cabinet door or a moving machine section, the approach changes again: the bellows must have a controlled travel path, and the supports must not remove the movement allowance that protects the cables.
Experience on site often changes the first plan. A route that looks clear on a drawing may pass near a hinge sweep, a maintenance access point, or a heat source once the assembly is complete. This is where a bellows bracket is useful as a routing-control component rather than a generic clamp. Repositioning one support can remove a rubbing point without redesigning the whole run.
Common Bellows Bracket Installation Mistakes
- Using the bracket as the only termination support: the connector still needs to be correctly installed and tightened for its intended purpose.
- Overtightening: a bellows bracket that visibly compresses the corrugations can restrict cable passage and reduce flexibility.
- Supporting only the middle of a long run: this can leave the ends loaded and allow excessive movement near fittings.
- Ignoring final cable weight: a route should be checked after conductors, not only with an empty bellows.
- Forgetting service access: locate each bellows bracket so technicians can inspect it and replace the tube or fitting if needed.
Selection Checklist Before You Install
Before choosing a bellows bracket, confirm the bellows outside diameter, expected cable load, mounting orientation, support spacing guidance, bracket material, environmental exposure, and required access to connectors. Then inspect the installed route for smooth bends, supported straight sections, no sharp-edge contact, and no visible load at the termination.
For projects that combine corrugated pipe, connectors, and routing accessories, specifying compatible components from one system can simplify dimensional matching. However, every assembly should still be verified against its drawings, applicable code, and the manufacturer’s instructions before energization.
Conclusion
A bellows bracket supports bellows installation by controlling sag, protecting the planned bend, and reducing unintended load at connectors. It is most effective when it is sized to the tube, positioned on appropriate straight sections, and checked again after cables are installed. Treat each bellows bracket as part of the complete routing system—not as a replacement for correct fittings, code compliance, or final inspection.